


You would probably have seen those faded, cloudy headlights, particularly in older cars. It’s amazing how owners of such vehicles are still able to drive at night, when visibility would be expected to be poor. But, there is a way to restore such lights to their original glory.
WHAT ARE HEADLIGHT LENSES MADE OF?
Generally, headlight lenses consist of polycarbonate plastic. This material is ideal for dealing with travelling conditions, because such lenses do not break when exposed to stones and other debris on the road.
WHAT MAKES HEADLIGHT LENSES FADE?
The sun’s light consists of UV rays. Manufacturers coat these lenses with a film that protects them from UV light, but after some time, the UV destroys this film. It is at this point that lenses begin to oxidise and become cloudy.
WHAT CAN BE DONE TO RESTORE SUCH CLOUDY HEADLIGHTS?
It is not difficult to restore headlights to their original clear lenses, as can be seen from the following steps.
PURCHASE A HEADLIGHT RESTORATION KIT
The first step is buying a suitable restoration kit. Fortunately, most kits work in the same way. The individual components consist of wet/dry sand paper, of grit size 1000 – 3000. In addition, a polishing compound, wax, a UV sealant, a tape and a polishing cloth are required.
CLEANING YOUR HEADLIGHTS
Thoroughly clean the headlight lenses with car soap and water. It is important to clean the car body area around the perimeter of the lenses beforehand, so that tape can be properly stuck there.
PLACING TAPE AROUND THE HEADLIGHTS AND SANDING
The reason for the tape is to prevent you mistakenly sanding the body work on the edges of each lens. Wet the most abrasive sand paper, as well as the lens, and sand the lens along straight, horizontal lines for about 5- 10 minutes. Keep the surface wet during the entire sanding process, as otherwise you may damage the lens.
COMPLETE THE SANDING PROCESS
Repeat the whole process with the less abrasive, 2000 and 3000 grit versions of sand paper. Change the direction of sanding with horizontal strokes to diagonal strokes. Use the sand paper in the opposite diagonal direction as the last step. Don’t rush this last process, and ensure that the lens and sand paper stay wet at all times, using either a spray bottle or a hose pipe.
THE LAST AND BEST STEP – POLISHING AND WAXING
Wipe and dry the headlights thoroughly. Squeeze some of the polishing material onto your clean microfibre towel and, using circular movements, rub in the polish for several minutes. An electric orbital buffer can also be used for this. Once the lenses are clear again, you can apply the wax, like you would apply it onto the car body. This will clean the lenses and prepare them for the next stage.
WHY NEW UV SEALANT?
Seeing the previous UV sealant was removed by all the sanding, you will have to apply new UV sealant. This is the most critical step, as the sealant will protect the lenses from the destructive effects of UV light. If you omit this step, you’ll be back to square one.
APPLYING THE UV SEALANT
Using a wet paper towel, apply the sealant all over the lens in even strokes. Ensure that the entire lens has been covered. Check the instructions, but, generally, only one layer of sealant is needed. Ensure the car is in a dry place to allow the sealant to cure. Remember to follow all the instructions as displayed on the kit.
THE FINAL ASSESSMENT
If the lenses have not become clear, you could repeat the whole process. If that doesn’t work, the lenses may be irreversibly damaged, and you may have to seek professional help.
A QUICK-FIX METHOD?
A possible quick method uses toothpaste squeezed onto a micro-fibre cloth. The toothpaste is wiped onto the headlight lens using a circular motion. The cloth is then cleaned and dampened, and used to wipe the lens again. Finally the lens is wiped clean with a damp cloth.
We have seen that using either a lengthy or a short cleaning process can make cloudy headlights a thing of the past. Next time you spot some cloudy headlights, why not give the owner of the car the good news? Looking after your car and restoring its headlights is satisfying and important. Having car insurance is important too. Are you covered in terms of affordable car insurance?
Disclaimer:
This article was prepared by Eric Sandmann in his personal capacity. The views and opinions expressed in this article are the author’s own and do not reflect the views and opinions of Prime Meridian Direct (Pty) Ltd, FSP41040.The views and opinions in the article should not be attributed to anyone but the author unless expressly stated. Nothing in this article should be relied upon as advice, this publication is presented for informational purposes only. No person should act or refrain from acting in reliance on any information found in this article, without first obtaining proper financial advice from the appropriate professional. The author makes no claims, promises or guarantees about the accuracy, or completeness, of any information linked from, referred to, or contained in this article. The author reserves the right, to edit and change the content of this article.
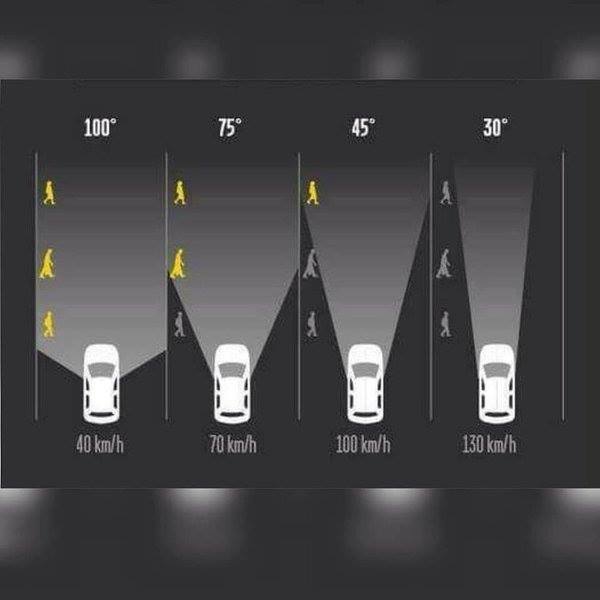
Pedestrians will be Safer when they are More Visible and Easily Seen – Motorists should Slow Down in Areas of Pedestrian Activity for those Pedestrians not so Visible especially at Night! #ArriveAlive @AASouthAfrica @TrafficRTMC @DoTransport pic.twitter.com/p0dYYyF9je
— Arrive Alive (@_ArriveAlive) December 26, 2017