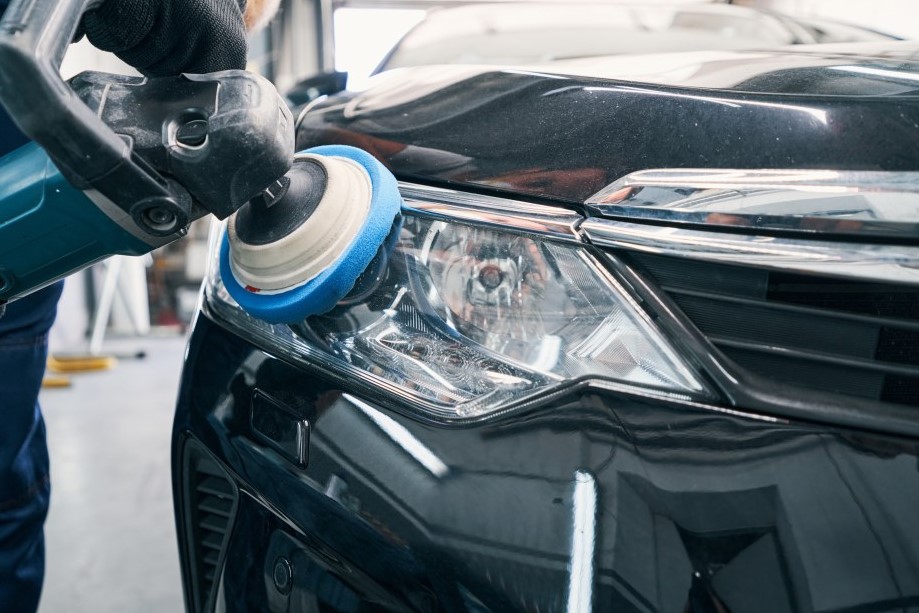
Headlights play a crucial role in ensuring safe driving for South African motorists. Still, they can become hazy, cloudy, or yellowed over time due to exposure to the elements, UV rays, and environmental contaminants. Not only does this affect the aesthetics of your vehicle, but it also diminishes the brightness of your headlights, reducing visibility at night and in adverse weather conditions. However, with the right tools and techniques, you can restore your headlights to their former glory and improve their appearance and performance. ¹
Understanding Headlight Damage
Before diving into the restoration process, it’s important to understand why headlights deteriorate. Most modern headlights are made of polycarbonate plastic, which is lightweight and durable but prone to degradation when exposed to sunlight and other environmental factors. Over time, UV rays cause the protective clear coat on the headlights to break down, leading to oxidation and discolouration. Additionally, dirt, road debris, and chemicals can further exacerbate this process, resulting in a cloudy or yellowed appearance. Please check with your vehicle’s user manual and manufacturer for the best solution. Now, let’s explore a general approach to headlight restoration ¹
1. Preparation
Start by thoroughly cleaning the headlights with a mild detergent and water to remove dirt, grime, or residue. Dry them completely before proceeding to the next step. ¹
2. Masking
Use painter’s tape to mask off the surrounding areas of the headlights to protect the paint and other surfaces from damage during the restoration process. ¹
3. Sanding
Please put safety first. Please don’t attempt to use any equipment that you are not familiar with and are not sure how to safely use. To remove the outer layer of oxidation and smooth out any imperfections:
Start with a coarser grit (around 800 or 1000) and gradually work to a finer grit (2000 or higher). Keep the sandpaper and headlights wet throughout the process to prevent overheating and ensure a smooth finish. ¹
4. Polishing
Once the headlights are sanded to your satisfaction and the surface is smooth, it’s time to polish them to restore clarity and shine. Apply a small amount of plastic polish or compound to a clean microfiber cloth or polishing pad and work it into the headlights’ surface using circular motions. Continue polishing until you achieve the desired level of clarity and remove any remaining haze or scratches. ¹
5. Sealing
To protect the headlights and prolong the results of your restoration efforts, apply a UV-resistant clear coat or sealant specifically designed for automotive plastics. This will help prevent future oxidation and keep your headlights looking clear and bright for longer. ¹
6. Final Touches
Once the sealant has dried, carefully remove the masking tape and inspect the headlights for missed spots or imperfections. If necessary, repeat the polishing and sealing steps until you’re satisfied with the results. ¹
Tips for Success
Take your time
Rushing through the restoration process can lead to uneven results and potentially damage your headlights. Be patient and thorough, and don’t hesitate to take breaks if needed. ¹
Use the right products
Use automotive-grade sandpaper, polish, and sealant specifically designed for restoring headlights. Using the wrong products can result in subpar results or damage to your headlights. ¹
Protect your work
Once you’ve restored your headlights, regularly clean and maintain them to preserve clarity and prevent future damage; consider applying a protective film or coating to provide additional protection against UV rays and environmental contaminants. ¹
Restoring your headlights enhances your vehicle’s appearance and improves safety by ensuring optimal visibility on the road. By following the steps outlined above and taking the time to maintain your headlights properly, you can enjoy clear, bright headlights for kilometres to come. So why wait? Consider grabbing your supplies and start restoring your headlights today! ¹
Disclaimer:
The article aims to provide South African motorists with everything they need to know about headlight restoration.
Are you ready to buy car insurance now? Consider getting car insurance with Prime South Africa, which offers unique benefits. So, get a quote for affordable Comprehensive car insurance with Prime South Africa, featuring fixed premiums for 24 months guaranteed*, reducing excess*, and top-tier service. T’s and C’s apply.
Please get professional financial advice from a certified financial advisor to ensure you select the appropriate financial services product.
This article was prepared by Eric Sandmann in his personal capacity. The views and opinions expressed in this article are the author’s own. The views and opinions in the article should not be attributed to anyone but the author unless expressly stated. Nothing in this article should be relied upon as advice, this publication is presented for informational purposes only. No person should act or refrain from acting in reliance on any information found in this article, without first obtaining proper financial advice from the appropriate professional. The author makes no claims, promises or guarantees about the accuracy, or completeness, of any information linked from, referred to, or contained in this article. The author reserves the right, to edit and change the content of this article.
Sources:
Vehicle Checklist, Roadworthiness and Safe Driving https://t.co/UbPTID6Gif #ArriveAlive #VehicleChecklist@Mahindra_SA @dealerfloor pic.twitter.com/zyie5YvzPo
– Arrive Alive (@_ArriveAlive) June 3, 2024
